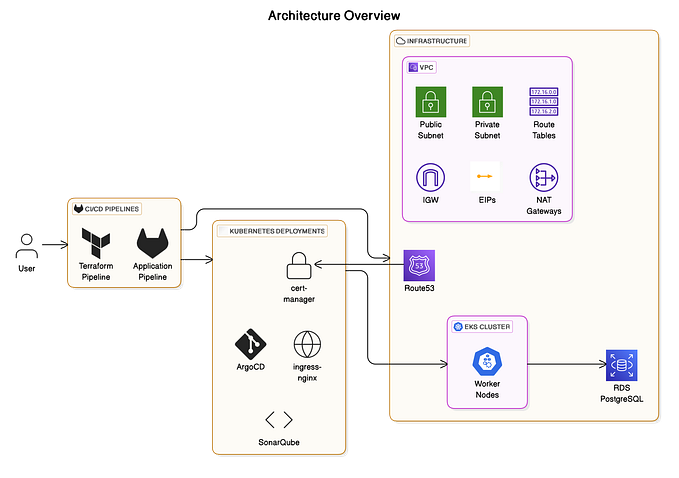
How to Install Secure GitLab Self-Managed on AWS Ubuntu with Docker Compose
Https Installation (https://varuncloud.shop/users/sign_in)
Introduction
GitLab is a popular DevOps platform that provides a complete CI/CD toolchain out of the box. In this guide, we will walk through the steps to install a self-managed GitLab instance on an AWS Ubuntu server using Docker Compose and secure it with HTTPS.
Prerequisites
- An AWS account
- A registered domain name (you can use free domain providers like Freenom)
- Basic knowledge of Docker and AWS
Step 1: Launch an Ubuntu EC2 Instance
- Log in to your AWS Management Console.
- Navigate to the EC2 Dashboard.
- Click “Launch Instance”.
- Select the Ubuntu Server 20.04 LTS (HVM), SSD Volume Type AMI.
- Choose an instance type (e.g., t2.micro for testing purposes).
- Configure the instance details and add storage as needed.
- Add a security group with the following inbound rules:
- HTTP (port 80)
- HTTPS (port 443)
- SSH (port 22)
- Review and launch the instance.
- SSH into your instance using the key pair you selected during the launch.
Step 2: Install Docker and Docker Compose
- Update the package list and install Docker:
sudo apt update
sudo apt install docker.io -y
sudo systemctl start docker
sudo systemctl enable docker
Install Docker Compose:
sudo curl -L "https://github.com/docker/compose/releases/download/1.29.2/docker-compose-$(uname -s)-$(uname -m)" -o /usr/local/bin/docker-compose
sudo chmod +x /usr/local/bin/docker-compose
Verify the installation:
docker --version
docker-compose --version
Step 3: Register a Free Domain
- Go to Freenom and register a free domain (e.g.,
example.tk). - After registration, update the DNS settings to point to your EC2 instance’s public IP address.
Step 4: Set Up Route 53
Create a Hosted Zone in Route 53:
- Navigate to Route 53 in the AWS Management Console.
- Click “Create Hosted Zone” and enter your domain name.
Add DNS Records:
- Create an A record that points your domain to your EC2 instance’s public IP address.
- Optionally, create a CNAME record for subdomains if needed.
Step 5: Install and Configure GitLab with Docker Compose
- Create a Docker Compose file for GitLab:
mkdir gitlab && cd gitlab
nano docker-compose.yml
Add the following configuration to docker-compose.yml:
version: '3.6'

services:
  web:
    image: 'gitlab/gitlab-ce:nightly'
    restart: always
    hostname: 'varuncloud.shop'
    environment:
      GITLAB_OMNIBUS_CONFIG: |
        external_url 'https://varuncloud.shop'
        nginx['redirect_http_to_https'] = true
        nginx['ssl_certificate'] = "/etc/letsencrypt/live/varuncloud.shop/fullchain.pem"
        nginx['ssl_certificate_key'] = "/etc/letsencrypt/live/varuncloud.shop/privkey.pem"
    ports:
      - '80:80'
      - '443:443'
    volumes:
      - '/srv/gitlab/config:/etc/gitlab'
      - '/srv/gitlab/logs:/var/log/gitlab'
      - '/srv/gitlab/data:/var/opt/gitlab'
      - '/etc/letsencrypt:/etc/letsencrypt'
    shm_size: '512m'
Step 6: Generate SSL Certificates with Certbot
- Install Certbot:
sudo apt install certbot -y
sudo apt install python3-certbot-nginx -y
2. Obtain SSL Certificates:
sudo certbot certonly --standalone -d yourdomain.com

sudo certbot certonly --standalone -d varuncloud.shop
Step 7: Launch GitLab
- Run Docker Compose to start GitLab:
docker-compose up -dStep 7: Launch GitLab
- Run Docker Compose to start GitLab:
docker exec -it <container_id_or_name> /bin/bashOpen the GitLab Rails console:
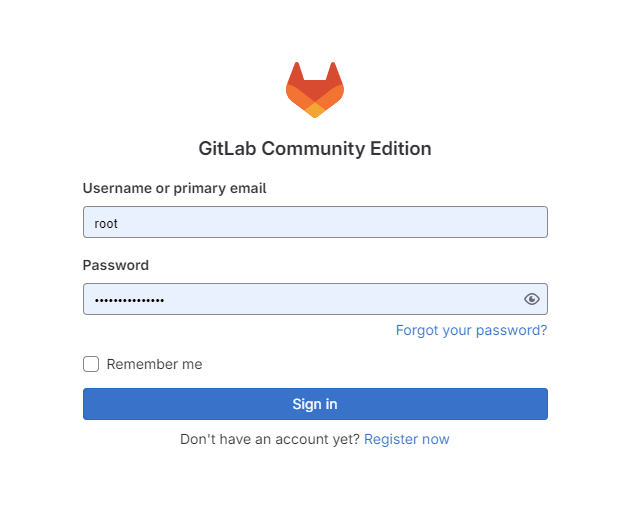
gitlab-rails consoleReset the root password:
user = User.where(id: 1).first
user.password = 'Str0ngP@ssw01rd!'
user.password_confirmation = 'Str0ngP@ssw01rd!'
user.save!
Exit the Rails console:
exitURL Access :
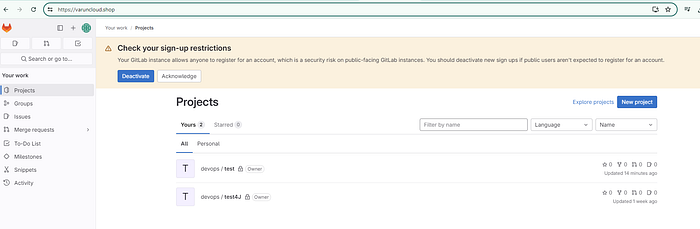
Conclusion
By following these steps, you have successfully installed a self-managed GitLab instance on an AWS Ubuntu server using Docker Compose, secured with HTTPS. You can now start using GitLab to manage your code repositories and CI/CD pipelines.